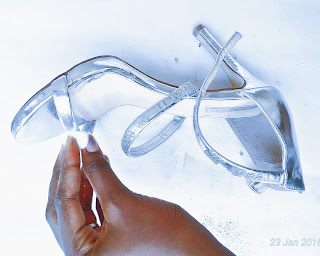
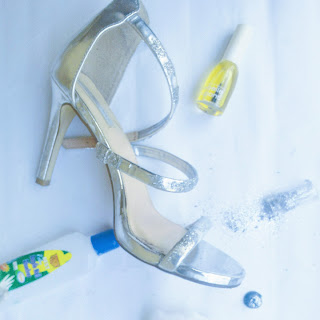
I happened to just come up with this DIY glitter sandals some months back. I bought this sandal for my traditional marriage and ended up not finding it as attractive as I did when I saw it in the market. I decided to revamp it into something a bit sparkly.
It's super easy to make and takes about 1 to 2 hours depending on the surface you are working with. Mine took me 1 week*covers face*. I was really busy during that period and confused as well so, I sort of learnt on the job.
MATERIALS YOU'LL NEED
- A pair of sandals
- Clear Nail polish aka Nail hardner
- Cardboard sheet or a plastic bag (just to protect the surface you'll be working on)
- Eyeshadow glitter
- A flat Nail file/plastic spoon or ice cream spatula
- A cotton ball/dry piece of cloth
Asides from the sandals, this DIY Project cost me 300 Naira only. I purchased the glitter for 200 Naira and a pack of cotton wool for 100 Naira. I had all the other items I used.
Step 1
Place your cardboard sheet on your work surface. Wipe the surface to be coated with a clean with a dry cloth or cotton wool.
Step 2
Step 3
Using the nail file, scoop some glitter and pour it over the part you already applied the nail polish. Wait for about a minute for the glitter to dry so that the fallouts are less.
Step 4
Apply another coat of nail polish over the glitter. It's totally okay for some of the glitters to rub off as you do this, you can always pour more glitter.
Step 5
Pour another layer of glitter over the second coat of nail polish and wait for it to dry completely.
Step 6
Rock 'em sandals!
GOOD TO NOTE
If you ever get tired of the glitter and want your old sandals back, just use nail polish remover and a cotton ball and everything goes off.
P.S. I tried this out some months back and it worked perfectly for me but I also did not take pictures of the process which is why I made this. The reason why some parts are covered in glitter for step one is that this for me was a retouch for parts of the sandals that the glitter had worn off.


No comments
Post a Comment
Leave a comment